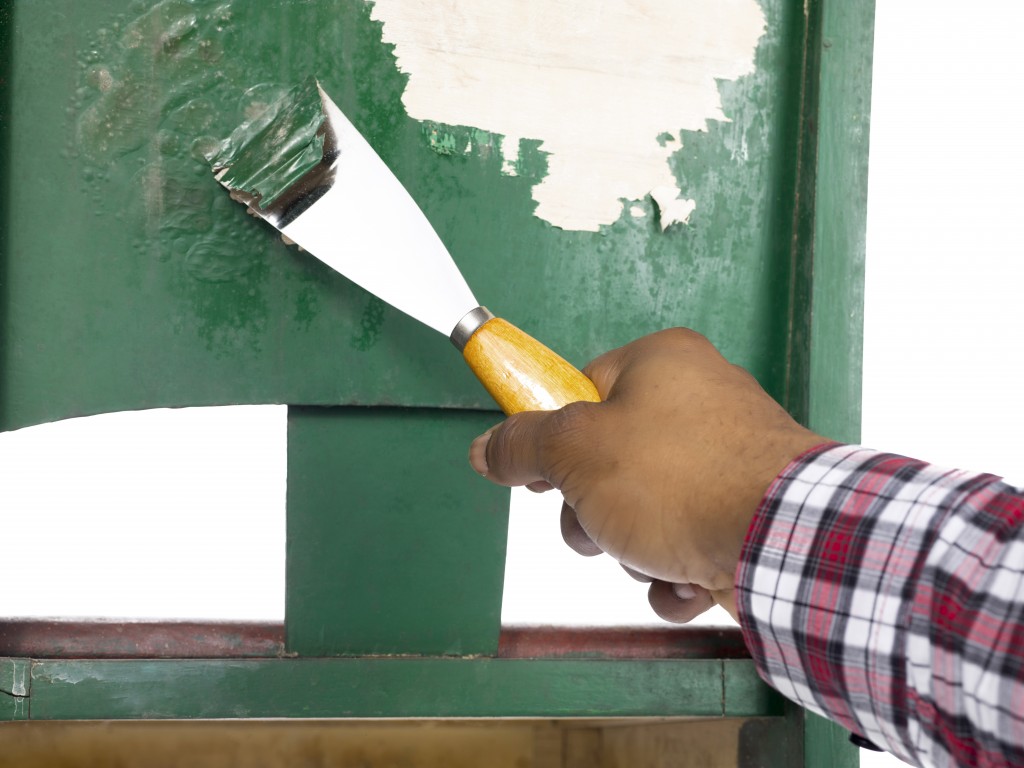
Great artists, craftsmen, and carpenters have developed the difficult skill of creating art with the best timber and producing the most beautiful of furniture pieces that have survived for centuries and handed down through the generations. Not everyone can be so lucky as to own any of those pieces, so, naturally, you can only work with what is actually on hand, with wooden furniture that may have become rough around the edges. Whether it needs some extra TLC, or a whole new look, refurbishing furniture has become quite a popular DIY skill, which can be handy when you are on a budget and very useful for future refurbishings. After all, you can only get better.
The best way to start the process is to keep a handy guide as a reference. There are some excellent furniture resources to be found in the library and quite a few on the internet. Reading such resources is a good way to get an idea of what you’ll be working with, especially with identifying the various types of wood. So, here’s a quick guide on refurbishing your furniture at home.
Before you begin the project:
- Clean your wooden furniture and remove any dirt or grime.
- Check the condition of the furniture. Take time to locate the dents, scratches, or cracks.
- See if there are multiple layers of paint.
- Inspect the surface of the furniture for varnish or lacquer.
After checking the condition of your furniture, the next step is to make sure any layer of paint or varnish is removed. Use a palm sander to sand the wood down to its original natural layer, smoothing out any dents, cracks, or scratches. At this point, the surface will be rough enough to allow your new varnish or paint to adhere to it more effectively.
Things to you’ll need :

- Thick Strippers (optional) — Depending on whether you have paint on the furniture, this is a paste stripper that will remove any layer of paint before sanding down.
- Thin Strippers (optional)— This is a watery stripper to remove a thin layer of an old finish more easily before sanding down.
- Sandpaper— Low-grade (80-120 grit) sandpaper will help remove tougher layers of paint, varnish, or lacquer from the surface, while high grade (300-600 grit) sandpaper will level out your dents, scratches, or cracks that you’ve filled in with wood putty.
- Palm Sander — This is a small power tool used for sanding.
- Wood Putty— It is a substance used to fill dents, cracks, and other imperfections.
- Putty Knife— Use this as a scraper or spatula to spread putty material over a surface.
- Primer— Before painting, a primer must be added to enhance the adhesiveness of the paint and the true paint color of the furniture. Use a white primer underneath a light-colored paint and a dark primer underneath a dark-colored paint. And make sure to use the right oil-based primer if you’re using paint sprayer instead of regular paint. The condition and color of your furniture may require the application of more than two light coats of primer, so be sure to have an adequate supply on hand. The primer must be dried completely per application before the paint color is added; if the surface feels coarse after the final primer application, lightly sand with high-grade sandpaper and wipe clean before applying paint.
- Paint and Brushes — Besides using a nylon bristle brush, you can use a paint sprayer, which can also be applied to your furniture, but make sure to have a good amount of paint supply as you may have to apply more than two thin coats. And although it is a faster method of paint application, using a paint sprayer requires a bit of prepping time (areas not being painted have to be thoroughly covered and sealed). If you are interested in being eco-friendly, there are natural paint options available that are non-VOC, which are less harmful, and though they may have a longer drying time, the environment will thank you.
- Varnish or Clear Coat— Adding a final layer of varnish or clear coat provides your furniture with a protective seal, as well as giving it a vibrant, glossy look while safeguarding it from external elements. Be sure to match topcoats that are oil-based with oil paint and topcoats that are water-based with water-based paint.
Always remember that safety is a priority. Protect yourself from harmful chemicals by wearing long-sleeved clothing, an eye shield, and a mask if you are exposing yourself to unhealthy vapors and dust. Also, always work in an open, well-ventilated room.
Finally, allow your furniture to dry in a well-ventilated area for no less than 24 hours before use. And with your newfound skill, you will never have to buy new furniture again!


