Owning an older home is a unique privilege. The architectural character, custom millwork, and mature neighborhoods offer a sense of soul that modern subdivisions rarely replicate. However, living in a vintage property often presents challenges. Drafty rooms, erratic heating, sluggish plumbing, and inadequate electrical layouts can quickly turn a historical dream into frustration. When modernizing, homeowners often face “renovation paralysis.” With an overwhelming list of projects, it’s easy to overspend on cosmetic fixes while ignoring crucial systems affecting comfort, safety, and longevity. A successful modernization requires a systems-first strategy. By upgrading your home’s envelope, mechanical infrastructure, and utilities, you can introduce modern performance without erasing the historical charm.
Selecting High-Performance, Period-Accurate Exterior Cladding
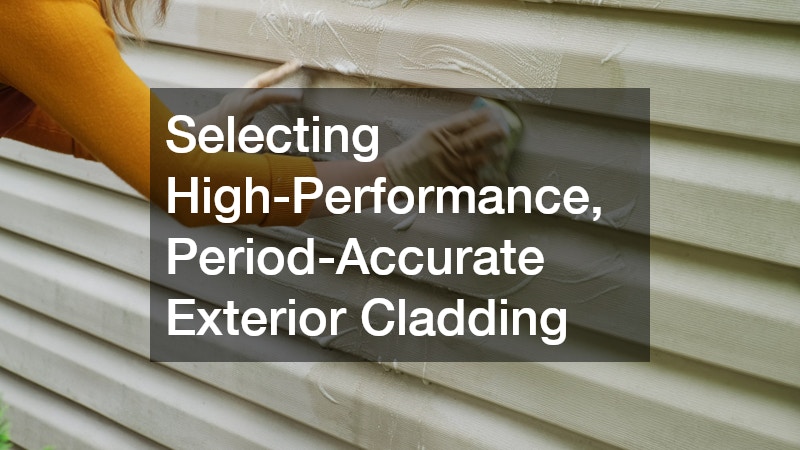
The exterior envelope of an older home is its first line of defense against the elements. Over the decades, original wood siding can succumb to moisture infiltration, pest damage, and wood rot. When moisture breaches the exterior cladding, it quietly compromises the structural studs and sheathing beneath. Modernizing this layer requires a careful balance between structural protection and historical preservation.
To successfully update your exterior, focus on materials that offer the aesthetic weight of tradition alongside modern engineering:
- Assess Structural Integrity First: Before installing new cladding, a complete tear-off of old, damaged material is essential. This allows for the inspection of the original diagonal board sheathing, replacement of rotted framing, and application of a modern weather-resistive barrier.
- Evaluate Material Options: Fiber cement and engineered wood siding are excellent modern choices. They replicate the deep shadow lines and grain patterns of historic cedar lap siding but resist rot, warping, and wood-boring insects.
Investing in these exterior upgrades safeguards your home’s framing for the next century. Partnering with a certified home siding company ensures that your home’s historic profile is meticulously maintained while deploying modern water-management techniques.
Reinforcing Your Roof Structure for Longevity and Modern Weather Demands
An aging roof on an older home is rarely just an issue of worn-out shingles. Over time, historical roof decks—often constructed of spaced tongue-and-groove boards rather than solid plywood—can sag under heavy loads. Furthermore, older roofs were rarely designed with modern ventilation principles in mind, leading to trapped heat and moisture in the upper attic spaces.
Upgrading your roof structure requires looking beyond the surface layer:
- Address Decking Gaps: If your home features old board sheathing with wide gaps, your installer will need to overlay thin exterior-grade plywood or OSB to create a continuous, code-compliant fastening surface for modern architectural shingles.
- Introduce Continuous Ventilation: Older homes often lack adequate intake and exhaust. Incorporating continuous soffit vents combined with a low-profile ridge vent allows the roof to breathe, preventing ice dams in the winter and reducing cooling loads in the summer.
A structurally sound roof is the ultimate insurance policy for your interior renovations. Consulting an experienced roofing company allows you to address structural irregularities, like rafter sistering, before heavy modern materials are installed.
Advanced Air Sealing Techniques Before Blowing In Insulation
Many owners of older homes assume that a cold, drafty room simply needs more attic insulation. They buy bags of fiberglass roll insulation and layer them over the floorboards. Unfortunately, this does little to stop comfort issues because insulation acts like a wool sweater; if the wind blows right through it, you still get cold. The actual culprit is air leakage via the stack effect, where warm indoor air escapes out of the top of the house, pulling cold air in through the basement and crawlspace.
To permanently fix the thermal performance of an older attic, use a targeted air-sealing methodology:
- Deploy Expanding Foam and Mastic: Seal every wire hole and open seam with high-quality expanding polyurethane foam or fire-rated caulk around flues.
- Achieve Proper Thermal Resistance: Once the attic floor is completely airtight, blow in cellulose or fiberglass insulation to achieve a thermal resistance of at least R-49 to R-60, depending on your geographic region.
By prioritizing air sealing, you prevent moisture-laden indoor air from condensing on the underside of your cold roof deck. Hiring a professional attic insulation service guarantees that historic, fragile knob-and-tube wiring is safely identified, isolated, or decommissioned before any modern insulation materials are blown into the cavities.
Restoring and Sanitizing Hidden Architectural Ductwork
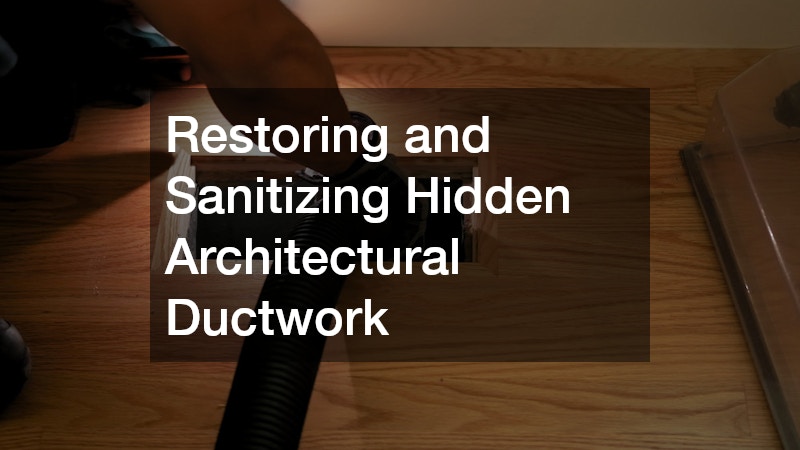
If your older home was retrofitted with a forced-air heating or cooling system mid-century, those air ducts have likely been collecting dust, pet dander, construction debris, and allergens for decades. Furthermore, older ductwork installations were rarely sealed properly at the joints, meaning a significant portion of your conditioned air is leaking into unconditioned walls or floor cavities rather than reaching your living spaces.
Modernizing your indoor air delivery involves a two-pronged approach of purification and sealing:
- Conduct a Video Inspection: Utilize specialized cameras to look deep inside the duct branches to check for collapsed lines, disconnected joints, or pest breaches.
- Seal the Joints Internally or Externally: Use aerosolized duct sealing technologies or manually apply fiber-reinforced mastic paste to every accessible joint to eliminate air loss and maximize system pressure.
Clean, tight ducts ensure your climate systems operate at peak efficiency. Scheduling a certified duct cleaner eliminates generations of microscopic particles, immediately improving indoor respiratory health and boosting the velocity of air coming from your registers.
Reviving or Upgrading Vintage Heating Systems
The heating systems in older homes are often a patchwork of historical technologies. You might have an oversized gravity furnace from the 1950s, cast-iron radiators connected to an aging boiler, or an early forced-air unit running at a fraction of modern efficiency. These systems consume excessive energy and often result in uneven temperatures, leaving some rooms freezing while others feel like a sauna.
When evaluating how to update your heating infrastructure, consider these technical steps:
- Convert to Electronic Ignition: If you have a mid-aged furnace that still utilizes a standing pilot light, consider converting it or upgrading to a system with an electronic ignition to eliminate constant gas waste.
- Maintain Hydronic Balance: For beautiful old cast-iron radiator systems, bleed the air lines annually and check the pressure-reducing valves to ensure hot water is distributing evenly across all floors.
Optimizing your heat source preserves your home’s comfort during the coldest months. While targeted furnace repairs can breathe new life into a salvageable mid-aged unit, upgrading to a modern modulating system will fundamentally transform your monthly operational costs.
Integrating Zoned High-Velocity or Ductless Cooling
Introducing air conditioning into a house built before the era of modern HVAC can be a logistical puzzle. Traditional central air conditioning requires bulky, rectangular sheet metal ductwork. Tearing open plaster-and-lath walls or dropping ceilings to accommodate these ducts destroys the architectural integrity and height of historic rooms.
Fortunately, modern engineering offers elegant solutions tailored specifically for vintage structures:
- Utilize Mini-Split Ductless Systems: These systems feature small, quiet indoor air handlers mounted on the wall or recessed into the ceiling, connected to an outdoor condenser via thin refrigerant lines. They provide targeted, zoned cooling without requiring any ductwork at all.
- Incorporate Smart Zoning: Group rooms by usage and solar orientation so you aren’t wasting energy cooling empty guest rooms or unused formal dining spaces during the heat of the day.
A thoughtful cooling strategy brings premium comfort to an old home without changing how it looks. Partnering with a skilled air conditioning contractor allows you to map out an unobtrusive installation route that respects your home’s structural layout.
High-Pressure Diagnostics for Vintage Cast Iron and Clay Pipes

The plumbing systems in older homes are often ticking time bombs hidden behind walls and beneath concrete basements. Original waste lines were typically constructed from cast iron or sectional clay tiles. Over sixty or eighty years, cast iron corrodes internally, creating a rough, rusted surface that catches debris, while clay pipes outside the foundation invite tree roots through their non-sealed joints.
Before embarking on any interior cosmetic remodel, you must verify the health of your waste lines:
- Run a Sewer Scope Camera: A professional technician should guide a fiber-optic camera through your cleanout all the way to the municipal main line to check for bellies, cracks, offsets, or root blockages.
- Clear Obstructions Intelligently: Avoid pouring harsh chemical drain cleaners down vintage pipes, as the chemical reactions can accelerate the thinning of fragile metal walls.
Taking a proactive approach to your waste management prevents catastrophic property damage down the road. Utilizing professional drain cleaning services at the first sign of slow drains or gurgling toilets allows you to clear out heavy obstructions safely while diagnosing the structural health of your infrastructure.
Transitioning From Outdated Materials to Flexible PEX Piping
If your home still relies on galvanized steel water supply lines, your water quality and pressure are likely suffering. Galvanized pipes rust from the inside out, narrowing the internal diameter of the pipe over time. This restricts water flow to upstairs bathrooms and can introduce a metallic taste or reddish tint to your domestic water supply.
Modernizing your water delivery involves replacing these rigid, failing metals with highly adaptable materials:
- Map out a Comprehensive Repipe: Identify all accessible vertical chases and basement headers where old steel or old copper lines can be disconnected and removed.
- Adopt Cross-Linked Polyethylene (PEX): PEX piping is highly flexible, allowing installers to fish long, continuous lines through existing wall cavities much like electrical wiring, eliminating the need to demolish lath-and-plaster walls.
Upgrading your water lines protects your daily convenience and health. Collaborating with licensed plumbing contractors ensures that your new water system is fully compliant with modern building codes and features proper backflow prevention and water-hammer arrestors.
Layering Modern LED Architecture Into Historic Spaces
Step into an unmodified older home at night, and you will likely notice a distinct lighting pattern: a single, bright incandescent fixture hanging in the center of the ceiling, casting deep shadows into the corners of the room. Historical lighting plans simply did not account for the way we use spaces today. Modernizing your lighting isn’t about making your vintage home look like a stark commercial showroom; it is about creating depth, warmth, and utility.
A sophisticated residential lighting design relies on layering three distinct types of light:
- Ambient Light: Use discreet, small-aperture recessed fixtures or elegant, period-appropriate flush mounts to provide an even blanket of foundational light throughout the room.
- Task Light: Install dedicated illumination exactly where work happens. Think under-cabinet LED ribbons in the kitchen, low-profile reading sconces near built-in bookshelves, and bright vanity lighting in bathrooms.
Control is just as important as placement. Always select warm-dimming LED bulbs that transition from a bright 3000K down to an amber 2700K or 2200K, replicating the soft glow of historic candlelight. Engaging specialized lighting contractors allows you to safely route these new circuits through complex, historic framing without causing extensive damage to irreplaceable finishes.
Restoring Original Subfloors or Selecting Durable Historical Replicas
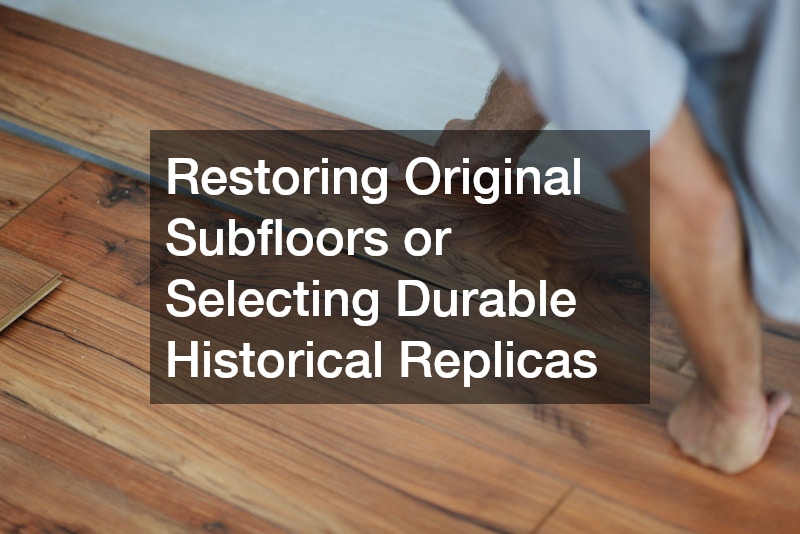
Flooring sets the tone for the entire interior of an older home. Whether you are dealing with scarred pine subfloors, worn tongue-and-groove oak, or cracked vintage tile, updating your floors requires evaluating whether to preserve, restore, or completely replace the surface material.
When addressing historical flooring challenges, utilize these practical tips:
- Measure the Remaining Wear Layer: Before bringing in heavy drum sanders to refinish old solid hardwood, check the thickness of the wood above the tongue. If the floor has already been sanded down multiple times over the decades, another aggressive sanding could split the planks.
- Stabilize the Underlayment: Older floors often squeak due to wood shrinkage around original hand-driven nails. Before laying down any new flooring material, secure the original subfloor down to the underlying joists using modern construction screws.
If your original floors are beyond saving, you can still honor the home’s heritage. Visiting local flooring stores and installation showrooms allows you to explore authentic options like wide-plank engineered hardwoods or historical cement patterns that offer modern stability alongside a vintage soul.
Modernizing an older home involves honoring the past while investing in the future. Instead of focusing on cosmetic changes, address the vital systems—exterior cladding, roof ventilation, insulation, mechanical equipment, and utility lines—to tackle discomfort and inefficiency. This approach ensures every dollar enhances the home’s structural integrity and livability. By reinforcing the infrastructure, you preserve its historical identity and improve efficiency and comfort for future generations. Start with a thorough home assessment, plan your mechanical upgrades, and enjoy modernizing your classic home.